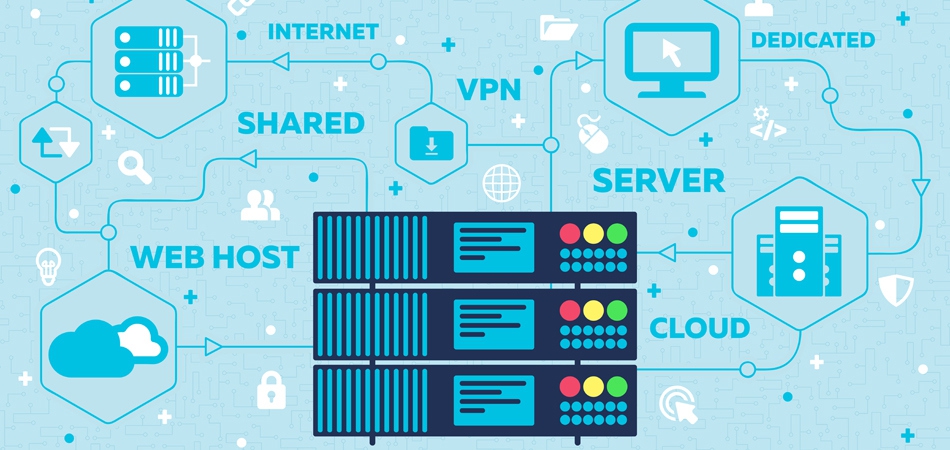
Providing secure and structured access to your server or hosting environment is essential for successful web or application development projects. This guide will help you understand the steps required to provide our team with the necessary access while ensuring your data remains safe.
1. Determine the Access Level Required
The level of access we need depends on the scope of the project. Here’s a quick overview of the types of access typically required:
- FTP/SFTP Access: Needed for uploading files to the server, particularly for website projects.
- Database Access: Required if the project involves managing or migrating a database, commonly MySQL or PostgreSQL.
- Control Panel Access (e.g., cPanel, Plesk): This allows comprehensive control over hosting services, including file management, databases, DNS, and more.
- SSH Access: Secure Shell (SSH) access is essential for command-line tasks on the server, often needed for more complex development projects.
- API or Developer Console Access: Necessary for cloud environments or when using services like AWS, Azure, or Google Cloud Platform.
2. How to Provide FTP/SFTP Access
FTP/SFTP access is ideal for managing files on the server. SFTP (Secure FTP) is preferred for its security advantages.
Steps to Provide FTP/SFTP Access:
- Log in to your hosting control panel (e.g., cPanel, Plesk, or your specific hosting provider’s portal).
- Navigate to the FTP Accounts section:
- In cPanel, you’ll find this under Files > FTP Accounts.
- In Plesk, go to Websites & Domains > FTP Access.
- Create a New FTP User:
- Choose a username and password.
- Set directory access to the required project folder for security.
- Enable SFTP (if supported): Confirm with your hosting provider to ensure SFTP is active.
- Share FTP Credentials: Send the credentials securely, either by sharing them within our CRM platform or via encrypted email.
3. Providing Database Access
Database access allows us to manage your databases for data migration, structure updates, or queries. Access can be provided through:
- Direct Database User Creation or
- phpMyAdmin Access
Steps to Provide Database Access:
- Log in to your hosting control panel and go to the Databases section.
- Add a New Database User:
- Go to MySQL Databases (or equivalent).
- Create a new user and assign it to the project database.
- Grant Permissions: Ensure the user has adequate permissions, such as SELECT, INSERT, UPDATE, and DELETE.
- Share Access Securely: Share the username, password, database name, and server IP securely.
- For phpMyAdmin Access:
- Share the phpMyAdmin URL, along with the username and password for direct access.
4. Granting Control Panel Access (cPanel, Plesk, etc.)
Control panel access can be useful if the project requires managing files, databases, or DNS settings.
Steps to Provide Control Panel Access:
- Log in to your control panel (e.g., cPanel or Plesk).
- Create a New User Account (if available):
- Some control panels allow you to create a restricted user.
- Set User Permissions:
- Allow access only to the specific sections needed for the project, such as Files, Databases, or Domains.
- Provide Login Details:
- Share the control panel URL, username, and password securely.
5. Granting SSH Access
SSH access is ideal for more complex tasks, such as application setup, configuration management, or deploying code.
Steps to Provide SSH Access:
- Log in to the hosting control panel and enable SSH access (if not enabled by default).
- Create an SSH User:
- In cPanel, go to SSH Access or Terminal options.
- Set Up SSH Keys (Preferred Method):
- Generate an SSH key pair on your server.
- Share the public key with us so we can authenticate securely without a password.
- Share Access Details:
- Provide the server’s IP address, SSH username, and port number.
- For password authentication (if SSH keys aren’t used), share the password securely.
6. Providing Access to Cloud Services (AWS, Google Cloud, Azure)
If your server is hosted on a cloud provider, such as AWS, Google Cloud, or Microsoft Azure, you can provide access through their console.
Steps for AWS Access:
- Log in to the AWS Management Console.
- Create an IAM User:
- Go to IAM > Users > Add User.
- Set permissions based on the required access (e.g., EC2, S3).
- Share Access Keys Securely:
- Share the Access Key ID and Secret Access Key securely.
Steps for Google Cloud Access:
- Go to Google Cloud Console and open IAM & Admin.
- Add a Member:
- Enter our email address.
- Choose roles such as Viewer, Editor, or Custom Role depending on the required access.
- Save and Confirm.
Steps for Microsoft Azure Access:
- Log in to the Azure Portal.
- Navigate to Subscriptions and select the subscription.
- Add Role Assignment:
- Add us as a Contributor or Reader as per the project needs.
- Confirm and Share.
Best Practices for Providing Server/Hosting Access
- Use Temporary Access: Limit access to the duration of the project, revoking it after completion.
- Securely Share Credentials: Use encrypted email or a secure platform like our CRM to share sensitive information.
- Use Unique User Accounts: Avoid sharing your main account; create unique accounts for access control.
- Set Permissions Appropriately: Only provide the level of access required for the tasks to enhance security.
By following these steps, we’ll be able to collaborate effectively on your development project while ensuring your server and data remain secure.